
Walking into your garage shouldn’t feel like navigating a mountain trail. We rely on these spaces to protect our vehicles, store our tools, and often serve as the main entryway to our homes. However, when the concrete slab beneath your feet starts to sink, crack, or slope unexpectedly, it creates more than just an eyesore—it creates a safety hazard.
An uneven garage floor is a common issue for homeowners, but understanding why it happens is the first step toward fixing it. Typically, the culprit isn’t the concrete itself, but the soil underneath. Over time, soil can erode, shrink due to dryness, or simply settle under the immense weight of the slab and the vehicles parked on top of it. When this support system fails, the concrete has nowhere to go but down.
Ignoring these warning signs can lead to worsening cracks, water drainage issues that damage your foundation, and significant tripping hazards for your family. Fortunately, modern repair techniques have made leveling a garage floor faster, cleaner, and more effective than ever before.
Assessing the Damage: Is Your Garage Floor Sinking?
Before you can determine the right solution, you need to understand the extent of the problem. While some signs of settling are obvious, others can be subtle until they cause significant damage. Here is how to thoroughly inspect your garage floor.
Visual Inspection
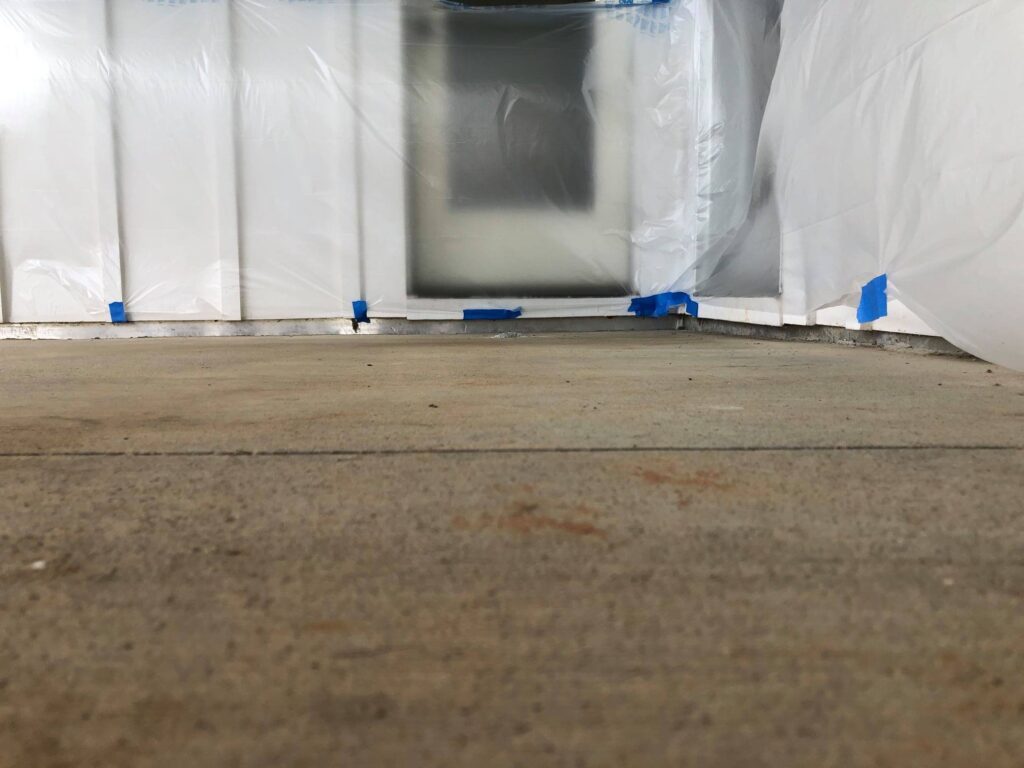
Start by looking for the most apparent indicators. Cracks are the most common symptom, but pay close attention to where the floor meets the wall. If you see a gap between the concrete slab and the garage wall, or if the slab has dropped below the driveway level, you are likely dealing with settlement issues.
The Ball Test
If the slope is subtle, you can use a simple household item to check the severity. Place a golf ball or a marble on various spots of the floor. In a properly graded garage, the floor should slope very gently toward the main door to allow water to drain out. However, if the ball rolls toward a specific corner, the middle of the floor, or toward the interior walls of your house, the slab has shifted incorrectly.
Sound Check
Sometimes, the soil has washed away beneath the slab, but the concrete hasn’t cracked yet. This creates a “void.” You can identify these dangerous hollow spots by tapping on the concrete with a broom handle or a heavy rod. A solid thud indicates good support, while a hollow, drum-like sound suggests there is empty space beneath the concrete, meaning a crack or collapse is imminent.
Material Selection: The Power of Polyurethane Foam
For decades, the standard method for fixing sinking concrete was “mudjacking.” This involved pumping a heavy slurry of cement, sand, and water beneath the slab to prop it up. While effective in its time, mudjacking has significant drawbacks: it requires large drill holes, takes days to cure, and adds thousands of pounds of weight to soil that is already struggling to support the floor.
Today, industry experts recommend polyurethane foam injection as the superior solution for residential garage floors.
Why Foam is the Smart Choice
Polyurethane foam offers a modern, engineering-based approach to concrete leveling.
- Lightweight: Unlike heavy cement, foam is incredibly light. It lifts the concrete without adding further stress to the weak soil below.
- Waterproof: The foam is hydro-insensitive. It will not wash away if water drainage issues were the original cause of the settlement.
- Fast Curing: Perhaps the biggest advantage for busy homeowners is speed. Polyurethane foam expands and hardens within minutes. You can usually drive your car back onto the garage floor the very same day the repair is completed.
- Minimally Invasive: The injection ports for foam are roughly the size of a penny, whereas mudjacking holes can be the size of a soda can. This preserves the aesthetic of your garage floor.
Step-by-Step: How Professionals Level Your Floor
While some home repairs are excellent DIY projects, concrete lifting requires specialized equipment and trained technicians. Understanding the process can help you know what to expect when you hire a professional crew. Here is the typical workflow for a concrete foam injection repair:
1. Preparation and Drilling
The technicians will begin by mapping out the affected areas. Once they identify exactly where the slab needs to be lifted, they drill small, strategic holes through the concrete. These holes are generally about 5/8 of an inch in diameter—small enough to be easily patched and hidden later.
2. Injection
Using a specialized hose and injection gun, the crew injects the two-part polymer foam into the holes. As the fluid enters the void beneath the concrete, a chemical reaction occurs. The material expands rapidly, turning into a rigid, structural foam.
3. The Lift
This is the critical moment where expertise matters. As the foam expands, it fills the voids and begins to exert upward pressure on the slab. The technicians control the injection carefully, lifting the concrete in increments until it is perfectly level with the surrounding floor. They monitor the lift precisely to ensuring the slab doesn’t crack from rising too quickly.
4. Patching and Cleanup
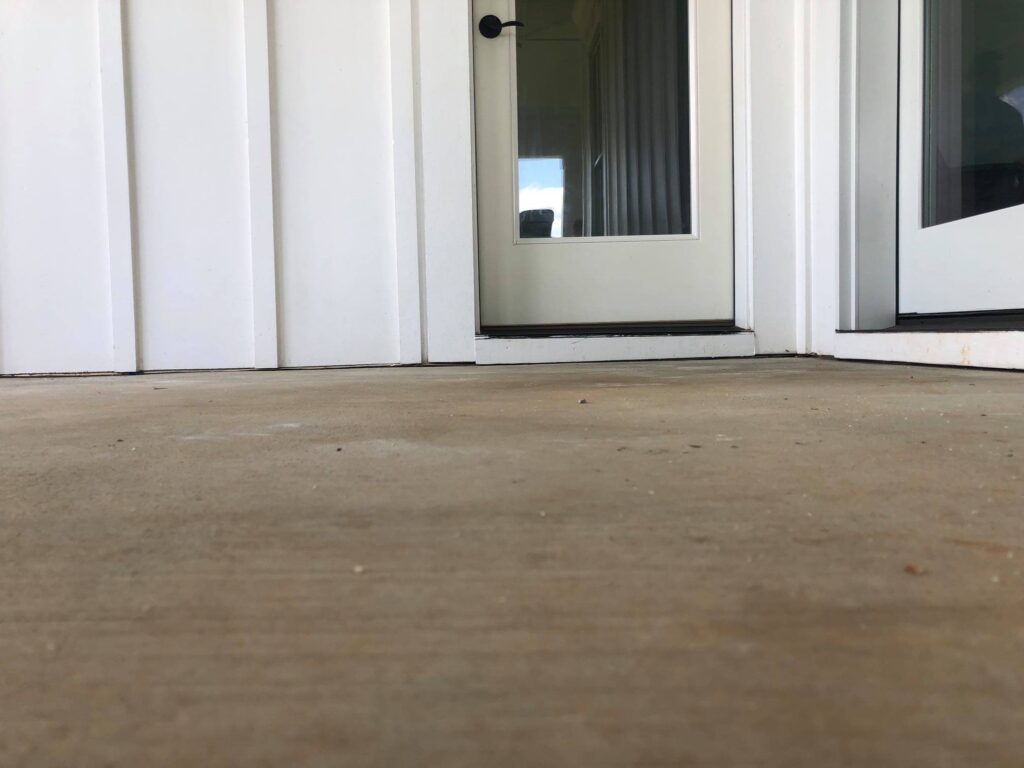
Once the floor is level and stabilized, the injection process stops. The small drill holes are filled with a cementitious grout that matches your existing concrete as closely as possible. Because the process creates no dust or debris, cleanup is minimal, and your garage is ready for use almost immediately.
View Our Garage Leveling & Lifting Solutions Now ✅
Preventing Future Garage Floor Issues
Once your garage floor has been restored to its proper position, you want to ensure it stays that way. Maintenance is key to protecting your investment and preventing the soil from shifting again.
Manage Your Water
Water is the enemy of a stable foundation. Ensure that your gutters and downspouts are clear and functioning correctly. Downspouts should direct water at least five to ten feet away from your garage foundation. If water pools near the garage door or the sides of the structure, it can soften the soil and lead to recurring settlement.
Seal the Concrete
Concrete is porous, meaning it acts like a hard sponge. During winter, water can seep into the concrete, freeze, and expand, causing surface damage and cracks (spalling). Applying a high-quality penetrating sealer protects the surface from moisture, road salts, and oil stains, extending the life of your slab.
Fill the Gaps
If you notice gaps between your driveway and the garage floor, fill them with a flexible polyurethane caulk. This prevents water from running down between the slabs and eroding the soil you just worked so hard to stabilize.
Conclusion
A sinking garage floor is more than a cosmetic nuisance; it is a sign of structural instability that can lead to costly damages if left unaddressed. By identifying the problem early and utilizing modern polyurethane solutions, you can restore the safety and value of your home with minimal disruption to your daily life.
Your home is your most significant investment, and maintaining a solid foundation is crucial for its longevity. Don’t wait for a small crack to become a major crater.
If you reside in Indianapolis and notice your garage floor shifting, it is time to call in the experts. Contact our local concrete leveling specialists today to Schedule A Free Inspection and get your garage back on solid ground.
Related Post: Eco-Friendly Concrete Leveling: A Sustainable Solution to Uneven Surfaces