Cracked, uneven sidewalks do more than look bad—they put your customers at risk and your business on the hook for costly repairs. The good news? You don’t have to tear out and replace damaged concrete to fix the problem. Concrete lifting offers a faster, more affordable way to restore safe, level walkways.
In this guide, you’ll learn why commercial sidewalks fail, how modern lifting methods compare to traditional repairs, and what to expect from the process. Here’s a quick look at what’s ahead:

Why Commercial Sidewalks Matter
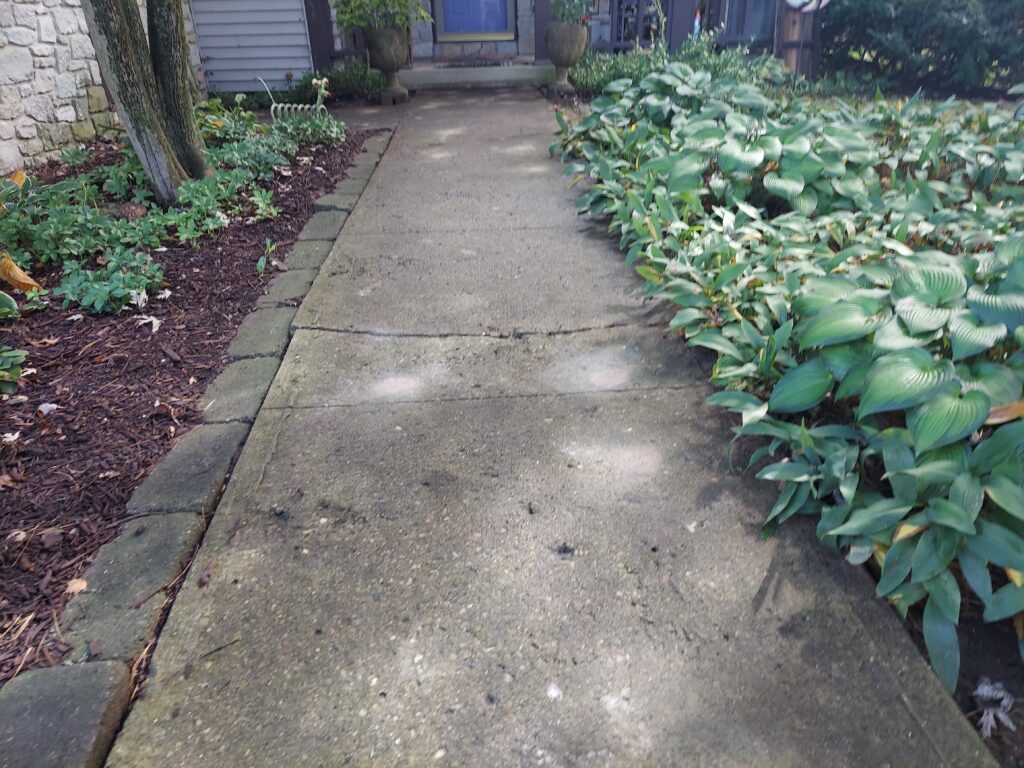
Your sidewalk is often the first thing customers touch before they walk through your door. A smooth, well-kept walkway signals that you care about details—and about the people who visit your business.
Beyond appearances, sidewalks carry real responsibility. Property owners can be held liable for slip-and-fall accidents on uneven surfaces. A single claim can cost far more than the repair itself.
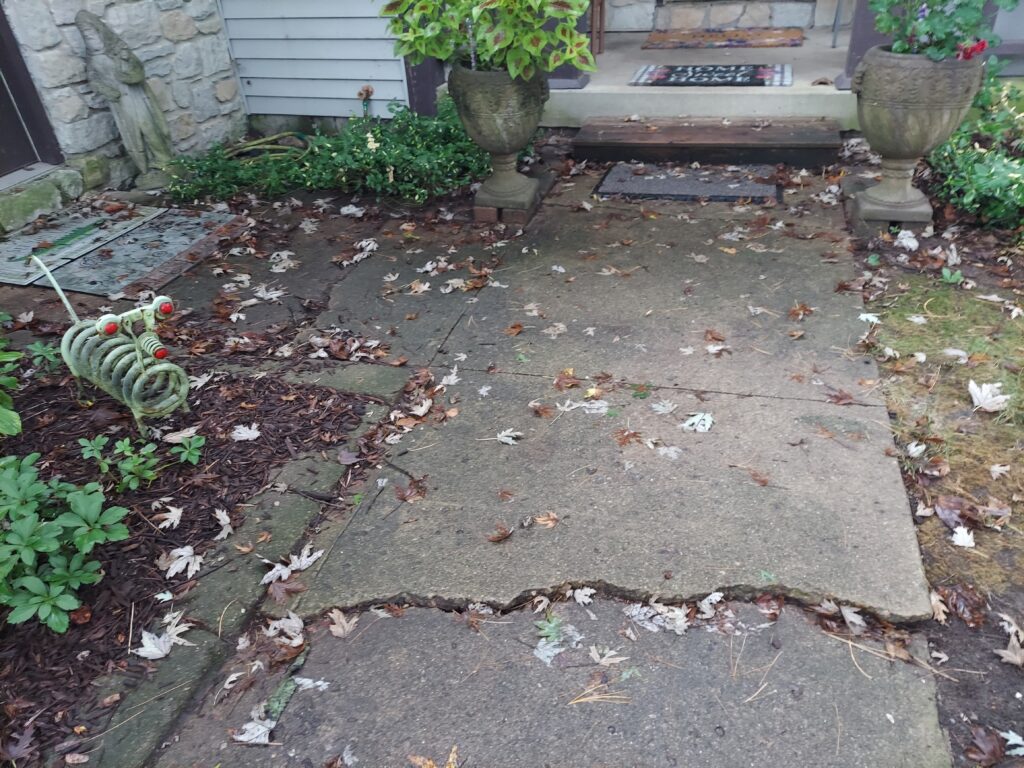
The Problem: Sinking Sidewalks
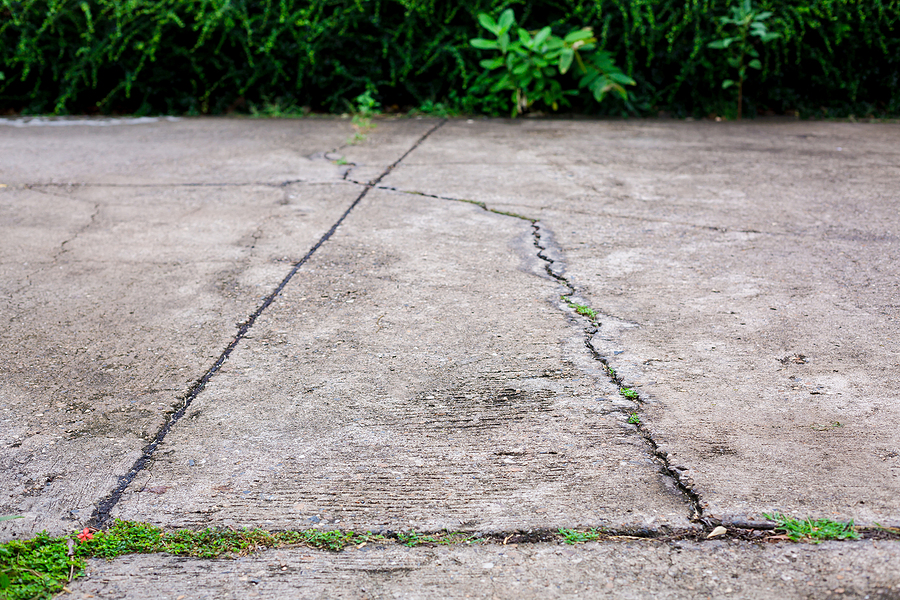
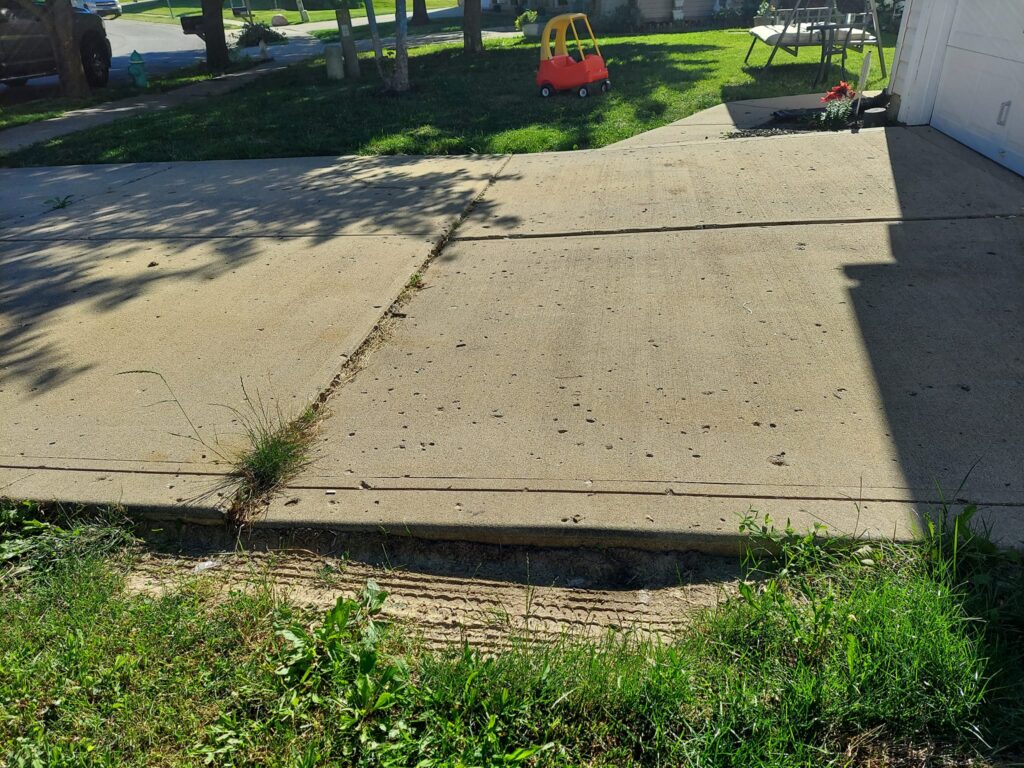
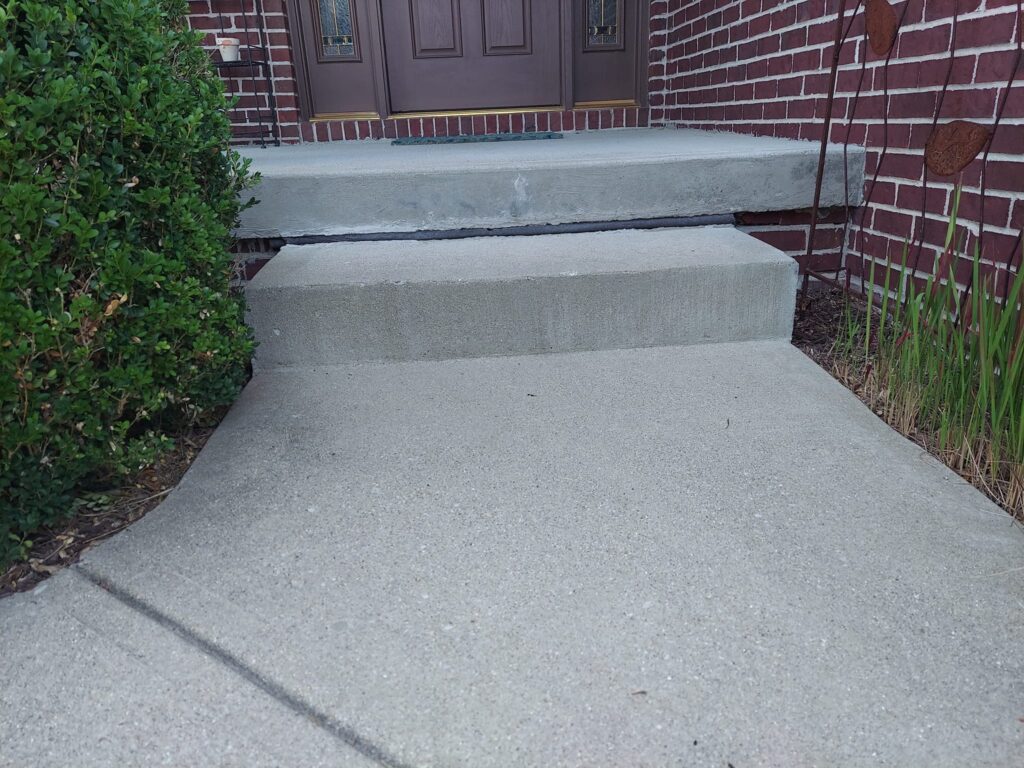
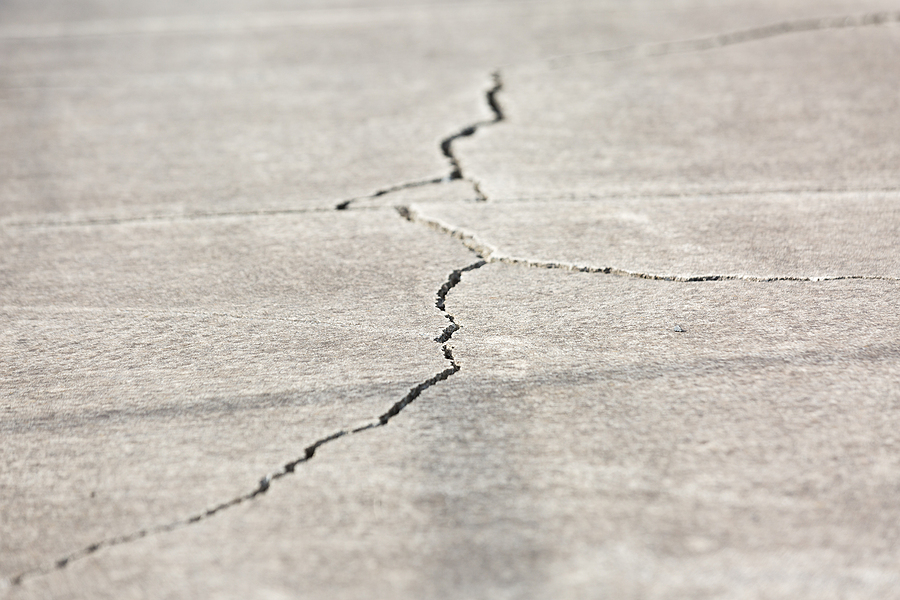
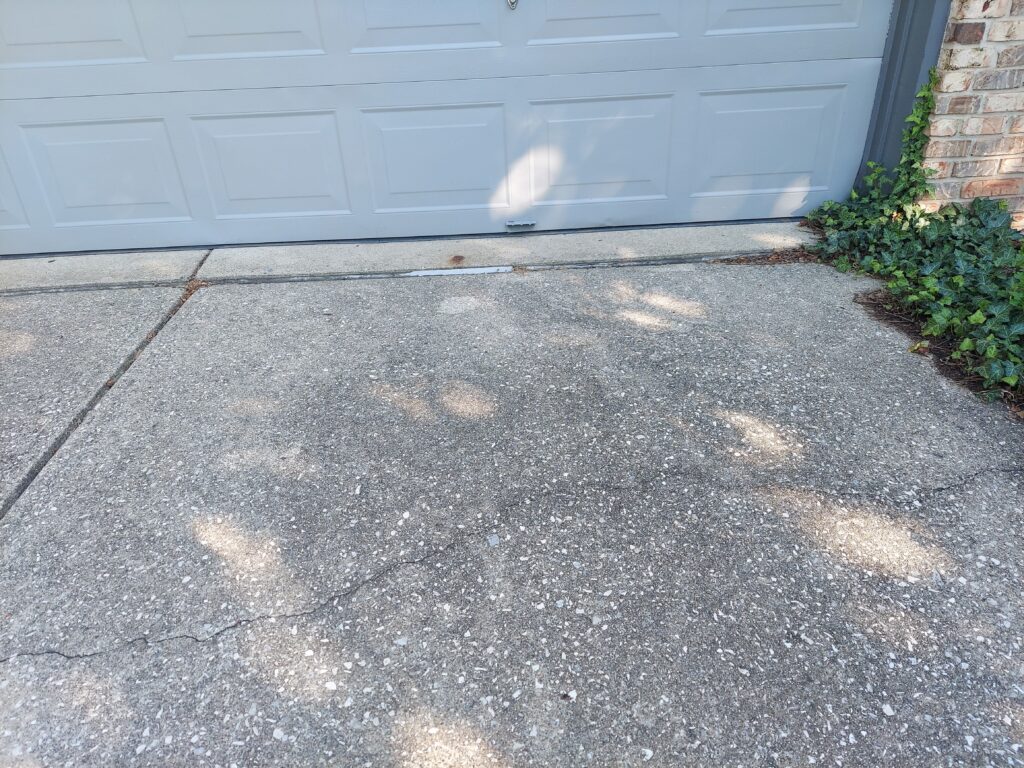
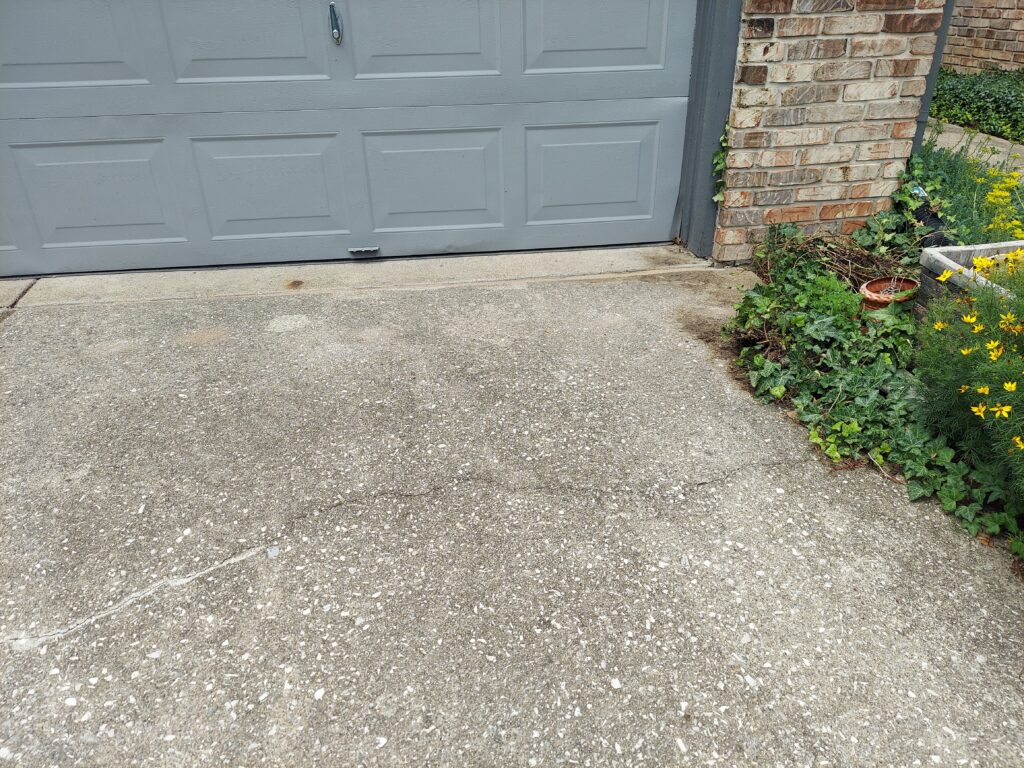
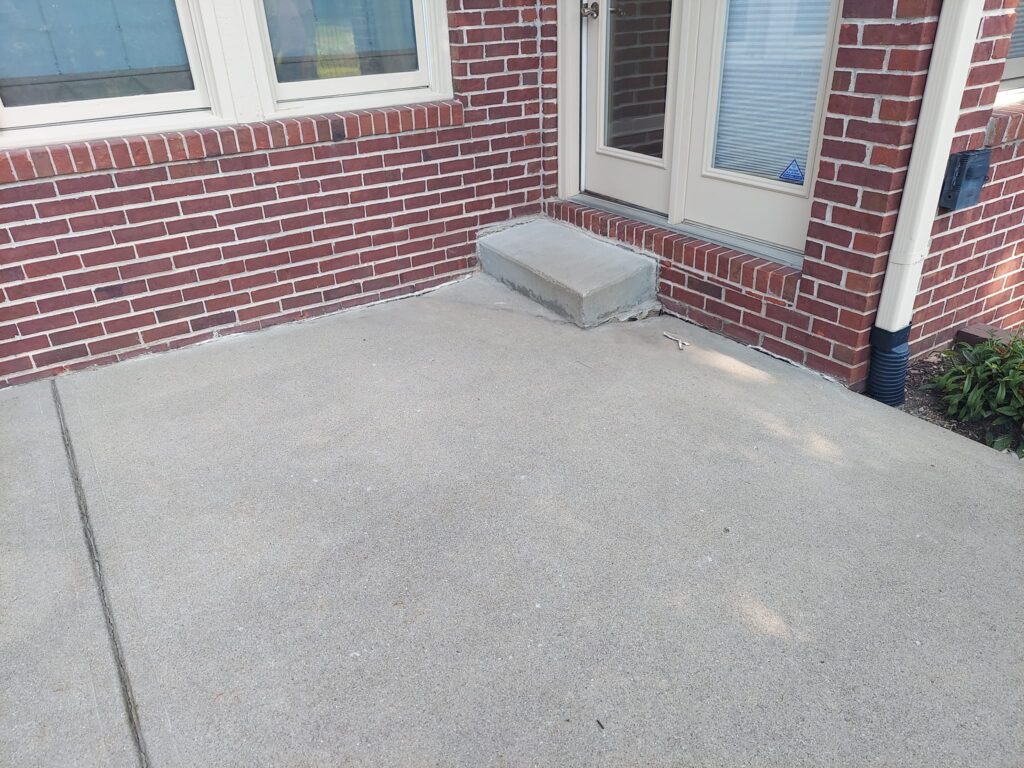
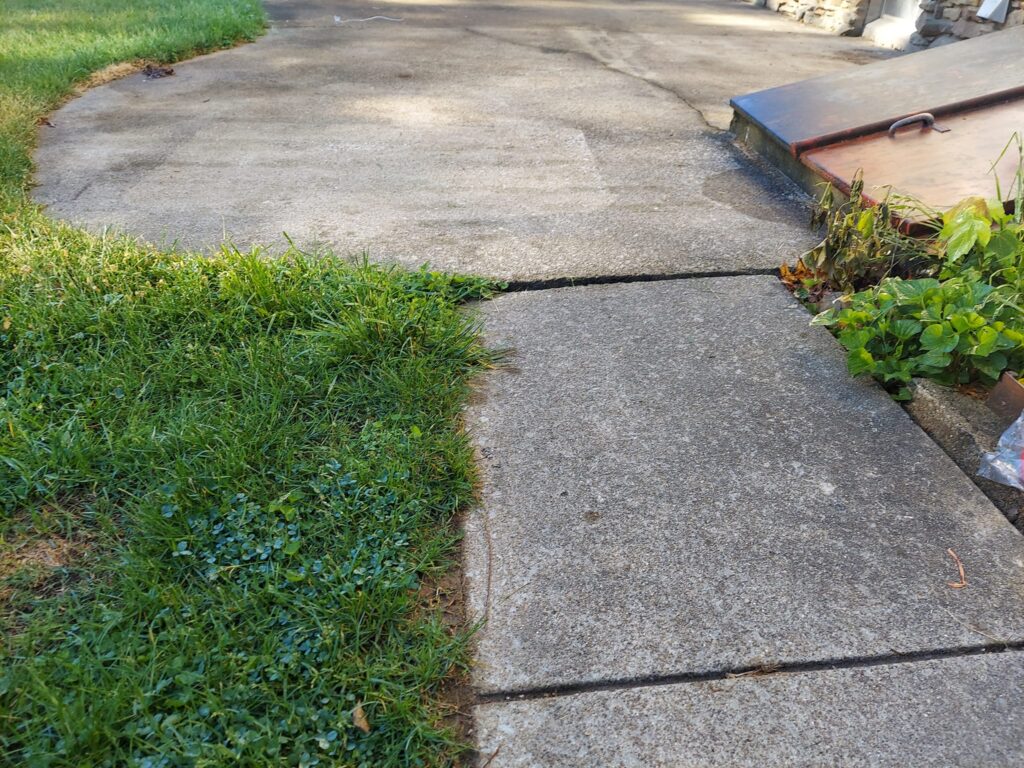
Concrete sinks when the soil beneath it shifts, erodes, or compacts. Water washes away the supporting base, leaving empty pockets that cause slabs to settle and tilt. The result is a patchwork of trip hazards, pooling water, and cracked panels. Left alone, these problems only get worse—and more expensive to fix.
Traditional vs. Modern Repair Methods
Not all sidewalk repairs are created equal. The method you choose affects your budget, your timeline, and how long the fix actually lasts.
Outdated Approaches and Their Downsides
For years, the standard answer was full slab replacement. That means breaking up the old concrete, hauling it away, pouring new slabs, and waiting days for everything to cure.
This approach comes with real drawbacks:
- High cost: Demolition, materials, and labor add up fast.
- Long downtime: Curing concrete can keep walkways closed for several days.
- Waste: Perfectly usable concrete ends up in a landfill.
- Color mismatch: New slabs rarely match the surrounding surface.
Mudjacking—an older lifting technique that pumps a thick slurry under the slab—was an improvement. But the heavy material can add stress to the soil and break down over time.
Introducing Concrete Lifting: A Better Way
Modern concrete lifting, often called polyurethane foam lifting, takes a smarter approach. Technicians inject a lightweight foam beneath the sunken slab through small ports. The foam expands, fills the voids, and raises the concrete back to its proper level.
The process is precise, clean, and remarkably quick. Most repairs are finished in hours, not days—and the foam resists water and won’t wash away like soil or slurry.
Next, let’s look at why so many business owners are making the switch.
Benefits of Concrete Lifting for Businesses
Concrete lifting solves the problem without the headaches of full replacement. Here’s what that means for your bottom line and your customers.
Cost-Effectiveness Explained
Lifting typically costs a fraction of what replacement does. You skip the demolition, the hauling, and the price of new materials. You’re also paying to restore what you already have. Since the foam strengthens the soil base, you reduce the chance of repeat repairs—saving money for years to come.
Minimizing Business Disruption
Time is money, and closed walkways cost you customers. Replacement projects can block access to your entrance for days. With concrete lifting, the foam cures within minutes. In most cases, your sidewalk is ready for foot traffic the same day, so business continues as usual.
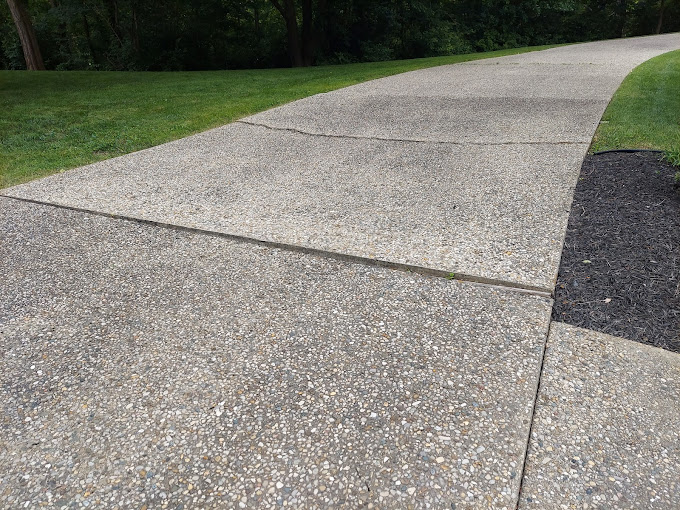
Enhancing Safety and Curb Appeal
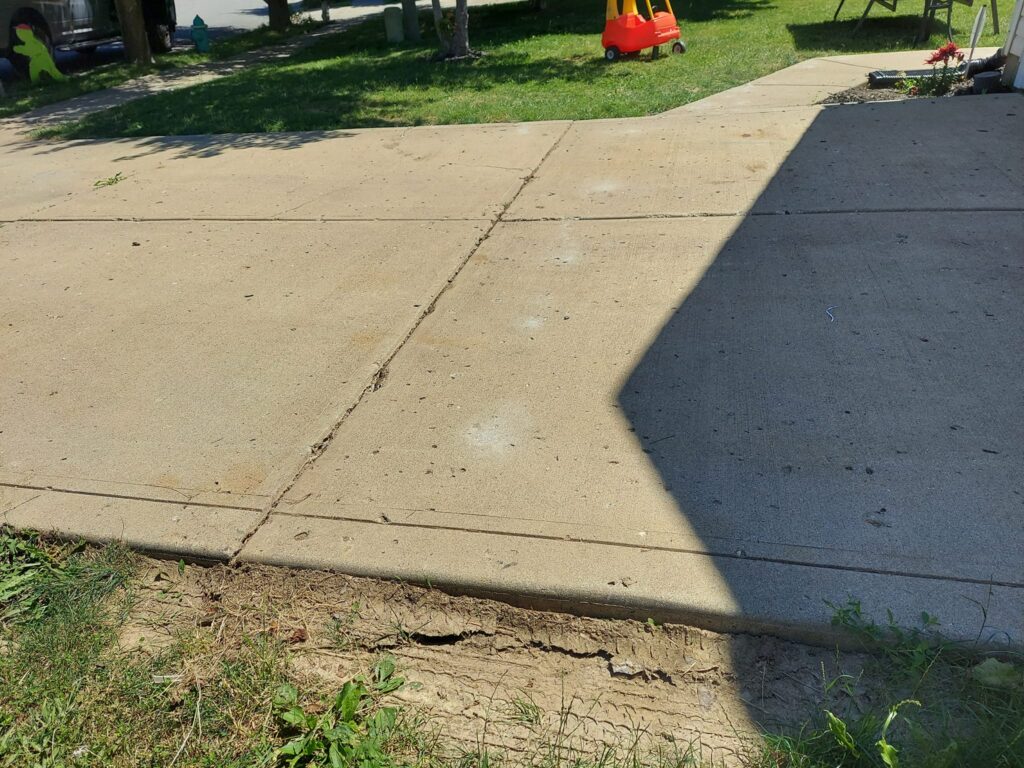
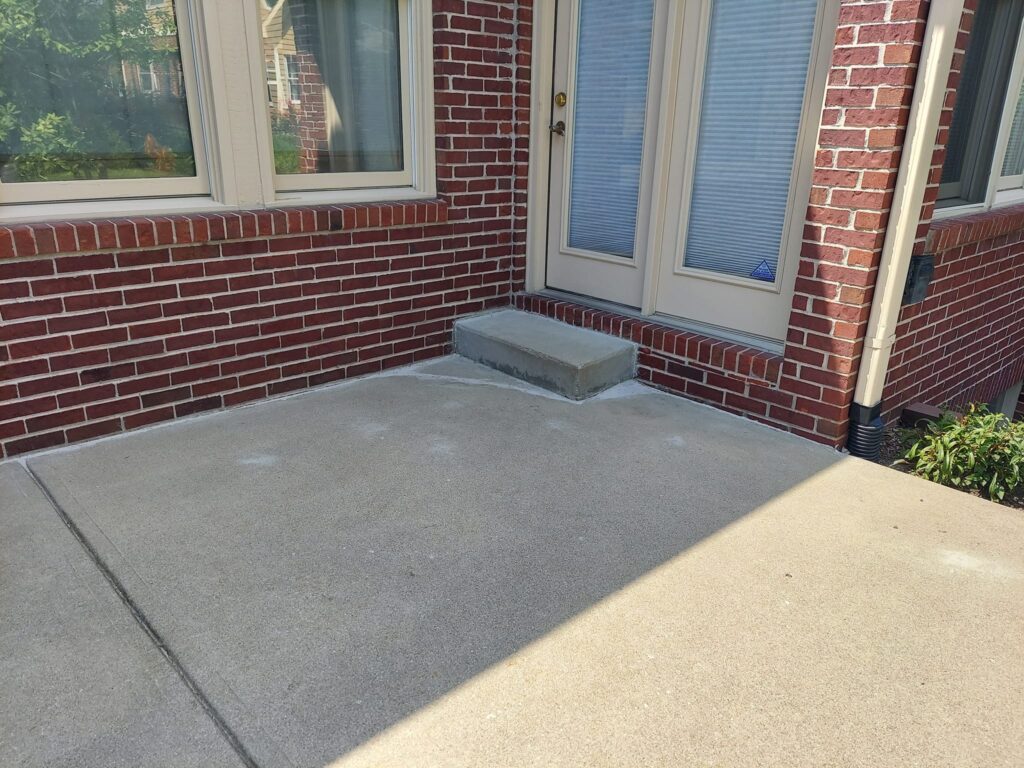
A level sidewalk removes trip hazards and helps you stay compliant with accessibility standards. That protects your customers and lowers your liability risk. It also keeps your property looking polished. There’s no patchwork of mismatched slabs—just a smooth, even surface that reflects well on your brand.
The Concrete Lifting Process
Knowing what to expect makes the decision easier. Here’s how a typical commercial lifting project unfolds.
Assessment and Planning
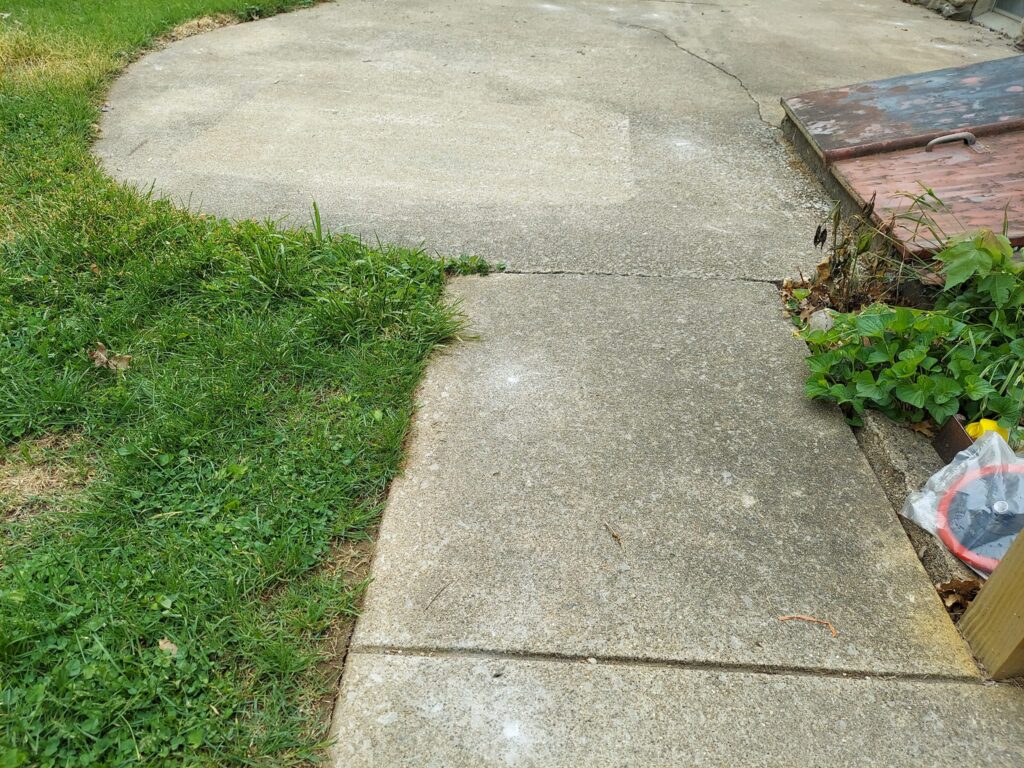
Every project starts with an inspection. A sidewalk leveling contractor examines the sunken slabs, measures the settlement, and identifies the cause—whether it’s erosion, poor compaction, or drainage issues.
From there, they map out a plan, marking where the injection ports will go and how much lift each area needs. Good planning ensures even, predictable results.
Injection and Lifting
Technicians drill small holes, about the size of a coin, into the affected slabs. They inject expanding polyurethane foam through these ports.
As the foam spreads, it fills the empty voids and gently raises the concrete to the correct height. The crew monitors the process closely, making small adjustments to keep everything level.
Finishing Touches
Once the slab sits at the right height, the team patches the injection holes to blend with the surface. The foam cures quickly, often within 15 to 30 minutes.
After a final check, the walkway is cleaned up and ready for use. There’s no debris to remove and no extended closure to plan around.
Choosing the Right Contractor
The quality of your repair depends heavily on who performs it. A skilled contractor delivers lasting results; the wrong one can leave you with the same problem in a year.
Key Questions to Ask
Before you hire, get clear answers to these questions:
- How long have you worked on commercial properties?
- What type of material do you use, and why?
- Do you offer a warranty on the work?
- Can you share references or examples of similar projects?
- Is the quote free, and what does it include?
What to Look For in a Service Provider
Beyond the answers, watch for signs of a trustworthy partner:
- Proper licensing and insurance to protect you during the job
- Transparent pricing with no surprise fees
- Strong local reviews from other business owners
- Clear communication from the first call to project completion
A contractor who checks these boxes will treat your property with the care it deserves.
FAQ: Commercial Concrete Lifting
How long does concrete lifting last?
With quality polyurethane foam, the repair can last decades. The foam doesn’t break down with moisture, and it stabilizes the soil to prevent future settling.
Is concrete lifting safe for high-traffic areas?
Yes. Once cured, the foam is strong enough to support heavy foot traffic and even vehicle loads, making it ideal for busy commercial properties.
How quickly can my business use the sidewalk again?
In most cases, the same day. The foam cures within minutes, so there’s no long wait before reopening the walkway.
Will the repaired area match my existing concrete?
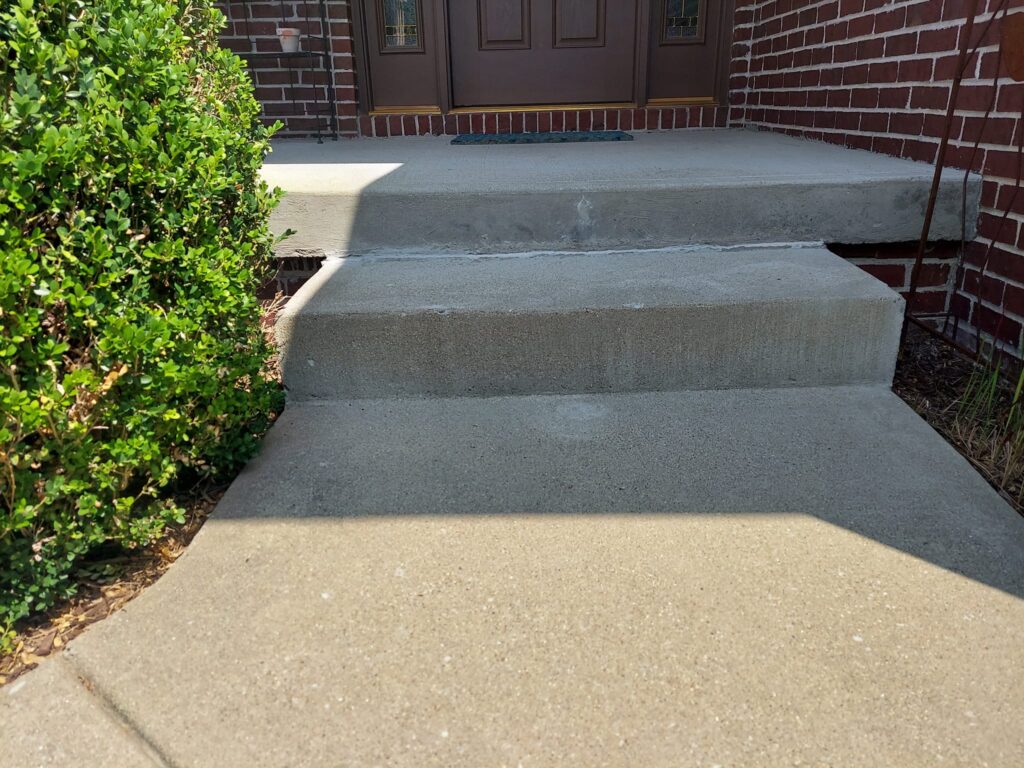
Lifting restores your original slabs, so there’s no color mismatch. Only the small injection holes are patched, and they blend in well.
Is lifting cheaper than replacement?
Almost always. You avoid the cost of demolition, removal, and new materials, often saving 50% or more compared to full replacement.
Conclusion
Sunken commercial sidewalks are more than an eyesore—they’re a safety risk and a liability waiting to happen. Concrete lifting fixes the problem at a lower cost, with far less downtime than full replacement. By restoring your existing slabs and stabilizing the soil beneath them, you get a safer, smoother surface that lasts for years.
The smartest next step is to have your sidewalks inspected by an experienced professional who can recommend the right solution for your property.
Ready to restore safe, level sidewalks for your business? Our commercial concrete leveling team in Indianapolis is here to help. Request a free quote anytime—there’s no obligation, just expert advice and a clear path to a lasting fix.
Related Post: Sidewalk Lifting: An Eco-Friendly Solution to Repairing Sunken Walkways