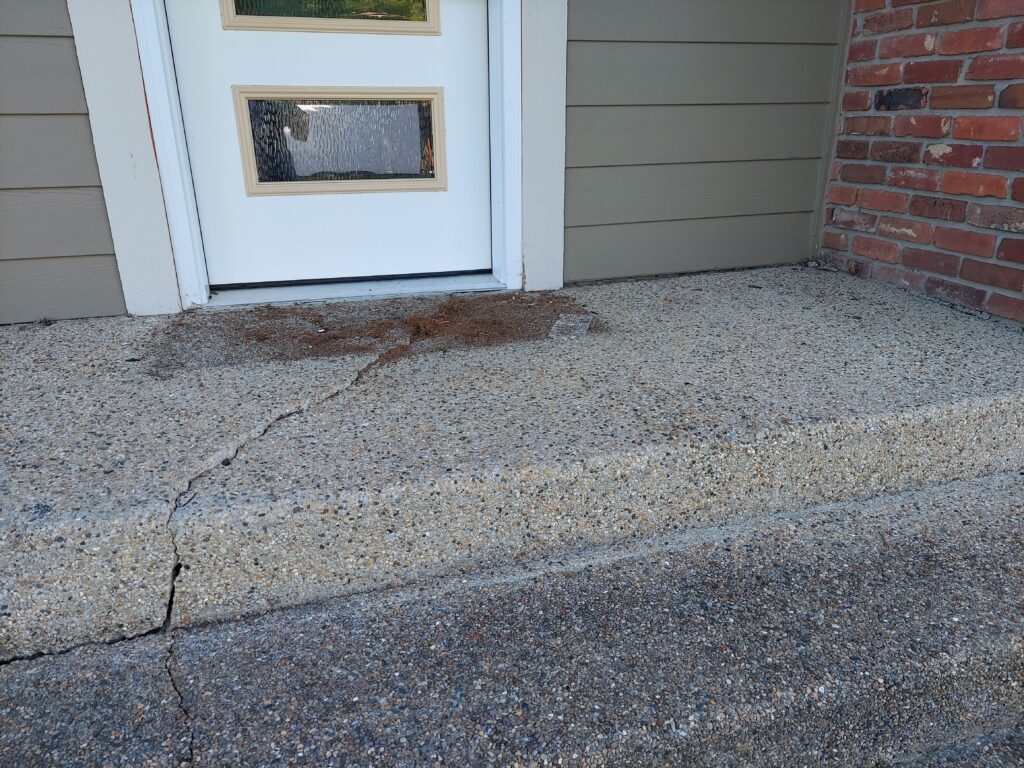
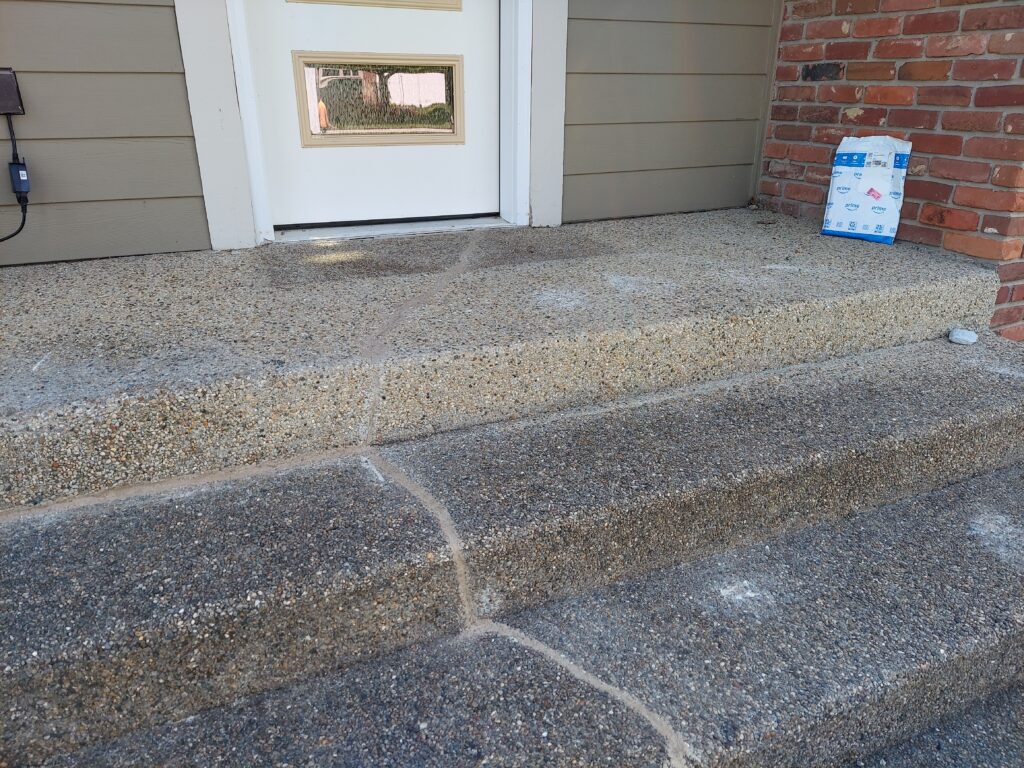
How Foam Concrete Leveling Can Fix Your Sinking Basement Floor

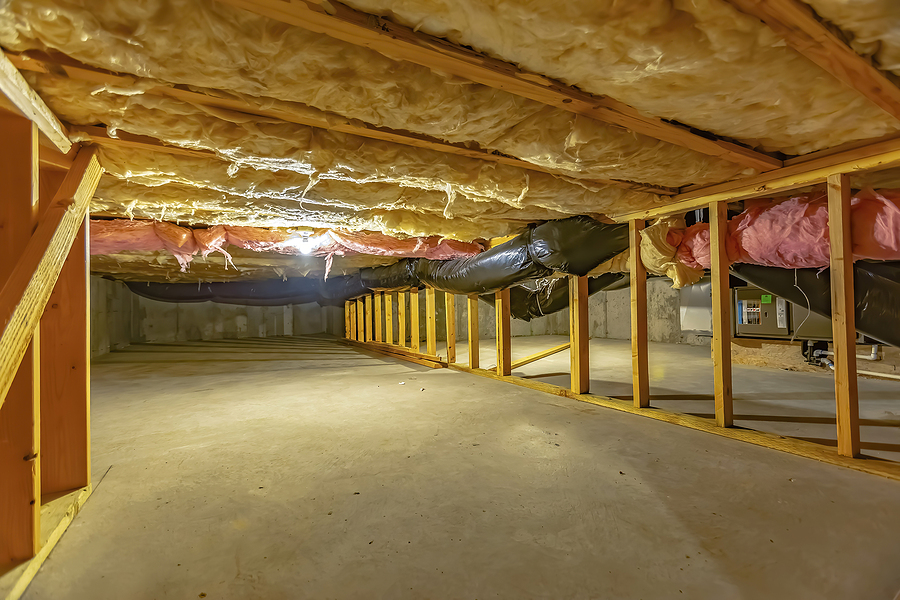
A crack running across your basement floor. A subtle dip that wasn’t there last year. Water pooling in the corner after heavy rain. These aren’t just cosmetic annoyances—they’re warning signs that your basement floor is shifting, and if left unaddressed, the problem will only get worse.

Sinking and uneven basement floors are more common than most homeowners realize, particularly in Indianapolis, where clay-rich soils and seasonal freeze-thaw cycles put constant pressure on concrete slabs. Beyond being an eyesore, an uneven floor can compromise your home’s structural integrity, create safety hazards, and reduce your property value.

The good news? You don’t need to tear out your entire basement floor to fix it. Foam concrete leveling—also known as polyurethane foam injection—offers a fast, durable, and cost-effective solution that can restore your basement floor without the mess or expense of full replacement.
Get Basement Concrete Leveling in Indianapolis

What Causes Basement Floors to Sink or Become Uneven?

Concrete is strong, but it’s only as stable as the ground beneath it. When that foundation shifts, the slab follows. Several factors can trigger this movement.

Soil Settlement and Compaction Over Time

Most basement floors are poured onto compacted fill soil. Over the years, that soil can compress unevenly—especially if it wasn’t properly compacted during initial construction. Heavy appliances, storage, and even normal foot traffic can accelerate this process, creating voids beneath the slab that cause sections to sink.

Poor Drainage and Water Damage

Water is the most common culprit behind sinking basement floors. Poor exterior drainage, clogged gutters, and plumbing leaks can all cause water to accumulate beneath the slab. Over time, this erodes the soil, creating hollow pockets that leave the concrete without adequate support.

Hydrostatic pressure is another concern. When soil becomes saturated, the water pressure it exerts against the basement slab can cause cracking and gradual settlement.

Expansive Clay Soils

Indianapolis sits on clay-heavy soil that swells when wet and shrinks when dry. This constant expansion and contraction creates ongoing movement beneath your foundation—and your basement floor bears the brunt of it.

Tree Roots and General Erosion

Nearby trees can extend roots beneath your foundation, slowly displacing soil and creating uneven pressure points beneath the slab. Combined with natural erosion from wind and water, these forces can destabilize even a well-constructed basement floor over time.

Traditional Repair Methods vs. Foam Concrete Leveling

When a basement floor starts to sink, homeowners typically face three options: mudjacking, full concrete replacement, or foam concrete leveling. The differences between these methods are significant.

Full concrete replacement is the most invasive and expensive route. It involves demolishing the existing slab, removing the debris, and pouring new concrete—a process that can disrupt your home for days and cost substantially more than repair alternatives. According to A-1 Concrete Leveling, concrete leveling typically saves homeowners 50–70% compared to full replacement.

Mudjacking is a traditional method that pumps a heavy cement-based slurry beneath the slab. It’s cheaper upfront than foam leveling, but it comes with real drawbacks. The slurry weighs approximately 100–150 lbs per cubic foot, which adds significant stress to already weakened soil. Mudjacking also requires large 1–2 inch injection holes and takes 1–3 days to cure. Most importantly, mudjacking repairs typically last only 2–5 years before the slab begins to re-settle.

Foam concrete leveling addresses all of these shortcomings. The polyurethane foam weighs just 2–4 lbs per cubic foot, cures in 15–30 minutes, requires only small ⅝-inch injection holes, and can last 10 years or more. For basement floors in Indianapolis homes, where soil conditions can be challenging, the lightweight and water-resistant properties of foam leveling make it the stronger long-term choice.

How Foam Concrete Leveling Works

The foam concrete leveling process is straightforward, minimally invasive, and can typically be completed in just a few hours.

Step 1: Assessment and Drilling

A technician first inspects the basement floor to map out the areas of settlement and identify where voids exist beneath the slab. Small ⅝-inch holes—roughly the size of a dime—are then drilled at strategic points across the affected areas.

Step 2: Foam Injection

A two-part high-density polyurethane foam is injected through the holes beneath the slab. As the two components combine, a controlled chemical reaction begins.

Step 3: Expansion and Lifting

The foam expands rapidly, filling voids, compressing and stabilizing weak soils, and gently lifting the concrete slab back toward its original position. Technicians monitor the lift carefully, adjusting injection points as needed to achieve a level surface.

Step 4: Curing and Cleanup

The foam cures within 15–30 minutes. The small injection holes are patched, and your basement floor is ready for use almost immediately—no lengthy downtime, no major disruption to your household.

Benefits of Foam Concrete Leveling

Long-Lasting Durability

Polyurethane foam is hydrophobic, meaning it repels water rather than absorbing it. Unlike mudjacking slurry, it won’t wash out, shrink, or break down through freeze-thaw cycles. Many foam leveling repairs last 10 years or more.

Significant Cost Savings

Foam concrete leveling costs considerably less than full slab replacement. According to industry data, foam leveling for interior floors runs approximately $5–$25 per square foot, compared to the far higher cost of demolishing and pouring new concrete.

Minimal Downtime

One of the most practical advantages of foam leveling is how quickly it’s completed. Most basement floor repairs wrap up within a few hours, and the floor can handle foot traffic within 30 minutes of completion. There’s no waiting days for materials to cure.

Prevents Further Structural Damage

By filling voids and stabilizing the soil beneath the slab, foam leveling doesn’t just fix the visible problem—it addresses the underlying cause. This reduces the risk of ongoing settlement and protects the structural integrity of your home.

Signs Your Basement Floor Needs Leveling

Catching basement floor problems early leads to simpler, less costly repairs. Watch for these warning signs:

  • Visible cracks: Long, widening cracks across the floor surface—especially ones that appear or grow after heavy rain—indicate active soil movement.
  • Uneven or sloping surfaces: If water pools in certain spots, or objects roll across the floor on their own, you likely have areas of significant settlement.
  • Soft or “bouncy” spots: A floor that feels hollow or slightly springy underfoot suggests voids have formed beneath the slab.
  • Sticking doors and windows: When a basement floor shifts, it can cause subtle structural movement that affects door and window frames on upper levels.
  • Gaps between the floor and walls: Separation at the base of walls or baseboards points to differential movement between your floor slab and foundation walls.

If you’re noticing one or more of these signs in your Indianapolis home, it’s worth getting a professional basement floor leveling assessment sooner rather than later. The longer sinking floors go untreated, the more extensive—and expensive—the repair becomes.

Frequently Asked Questions

How long does foam concrete leveling last?

When properly installed and combined with good drainage practices, polyurethane foam leveling can last 10 years or more. The foam is water-resistant and resistant to freeze-thaw cycles, which gives it a significant longevity advantage over traditional mudjacking (which typically lasts 2–5 years).

Is foam concrete leveling safe for my home?

Yes. Polyurethane foam used in concrete leveling is formulated to be stable and non-reactive once cured. The injection process is minimally invasive and does not require heavy equipment that could damage your home or landscaping.

What does foam concrete leveling typically cost?

Costs vary depending on the size of the affected area and the extent of the voids beneath the slab. Foam leveling for interior floors generally runs $5–$25 per square foot. A professional inspection will provide the most accurate estimate for your specific situation.

Give Your Basement Floor the Support It Deserves

A sinking basement floor isn’t a problem you can afford to ignore. Left untreated, what starts as a hairline crack or a subtle dip can escalate into structural damage, water intrusion, and costly repairs that far exceed the price of early intervention.

Foam concrete leveling offers Indianapolis homeowners a proven, minimally invasive way to restore uneven basement floors—without the cost or disruption of full replacement. It’s fast, durable, and built to last.

EcoLift Concrete Leveling LLC serves homeowners across Indianapolis, Indiana with expert foam concrete leveling services. If your basement floor is showing signs of settlement, contact us today for a free inspection and get your home back on solid ground.

Call Now

Related Posts:

A Guide to Basement Leveling: Get a Smooth, Usable Space
Concrete Leveling vs. Replacement: Which Option is Right for You?
Don’t Wait: Why Concrete Cracks Get Worse Over Time

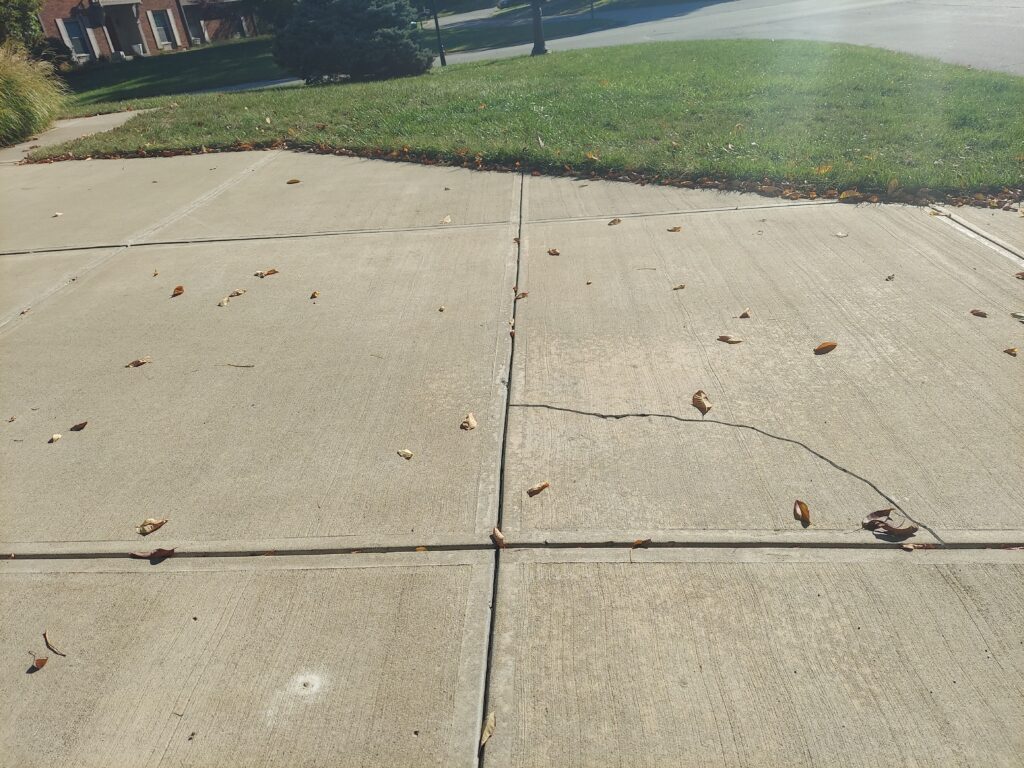
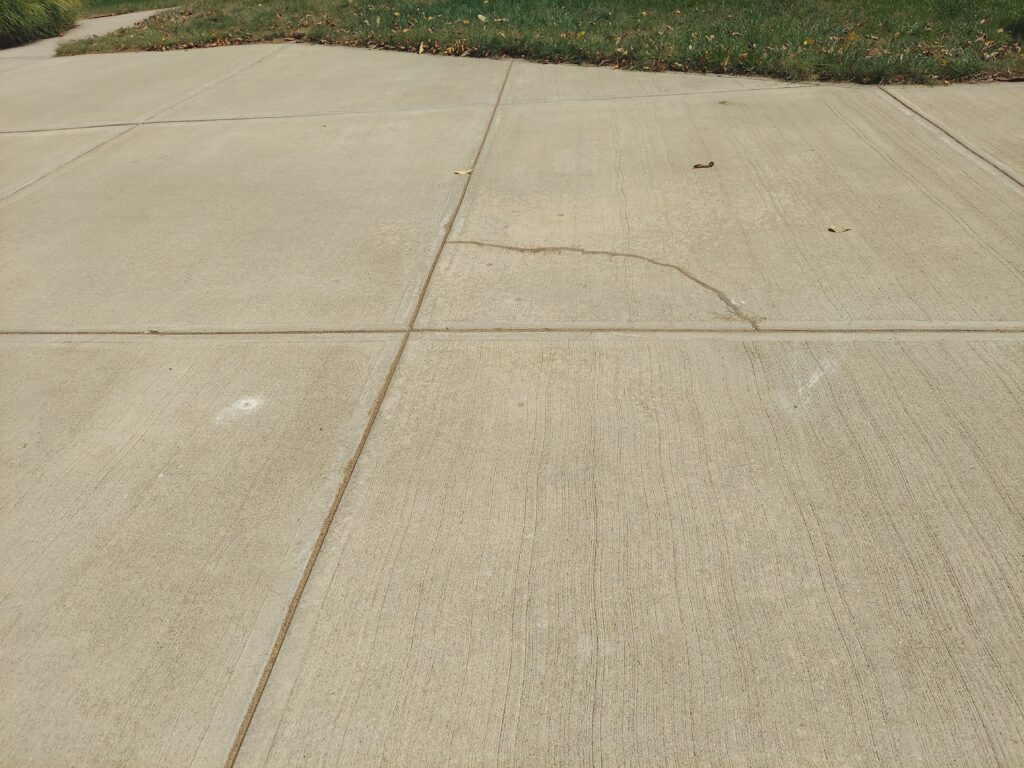
A small crack in your driveway or patio might seem harmless. But left untreated, that same crack can quietly grow into a costly structural problem—one that’s far more expensive and disruptive to fix than it ever needed to be. This post covers why concrete damage escalates quickly, what warning signs to watch for, and when it’s time to call in a professional.

Concrete is tough. It’s one of the most durable building materials on the planet. But it isn’t indestructible, and it doesn’t stay still. Temperature swings, moisture, and the weight of daily use all work against it over time. For homeowners and property managers in Indianapolis, Indiana—where winters are cold, wet, and unforgiving—that deterioration happens faster than most people expect.

The good news? Early action keeps repair costs manageable. The problem is, most people don’t act until the damage is already serious.

Why Concrete Cracks Spread Faster Than You Think

Concrete doesn’t crack all at once. The process is gradual—and that’s exactly what makes it so easy to ignore.

How Water Infiltration Accelerates Damage

Water is the primary driver of concrete deterioration. Once a crack opens—even a hairline crack less than 1/8 inch wide—water has a pathway in. From there, it seeps into the slab, weakens the sub-base beneath it, and sets the stage for accelerated damage.

If water reaches the steel reinforcing bars (rebar) inside the concrete, it causes rust. Rusted rebar expands and pushes against the surrounding concrete from the inside, widening cracks and eventually causing sections to break apart. What started as a surface-level issue becomes a structural one.

The Freeze-Thaw Cycle and Its Impact on Indianapolis Concrete

Indianapolis winters make this problem significantly worse. Freeze-thaw cycles occur when temperatures fluctuate above and below 32°F—a pattern that happens repeatedly throughout Indiana winters.

Here’s what that looks like at the slab level: water enters existing cracks when temperatures are mild, then freezes when they drop. When water freezes, it expands by up to 9%, according to research on freeze-thaw pavement damage. That expansion creates internal pressure that widens the crack. When temperatures rise again, the ice thaws, and more water enters. Each cycle makes the damage worse.

Deicers commonly used on Indianapolis driveways and sidewalks compound the problem. Chloride-based salts increase the rate of water absorption in concrete, accelerating the freeze-thaw damage cycle.

Root Causes of Concrete Deterioration

Beyond water and temperature, concrete cracks for a handful of other reasons:

  • Soil movement or erosion beneath the slab causes it to shift and sink
  • Heavy loads that exceed the slab’s design capacity
  • Poor initial installation, including improper curing or insufficient slab thickness
  • Tree roots pushing up from below
  • Age—concrete naturally becomes more brittle over decades

Knowing the root cause matters. Without addressing it, any repair is temporary.

Early Signs You Shouldn’t Ignore

Hairline Cracks vs. Serious Structural Issues

Not every crack signals a crisis, but none should be dismissed outright. Hairline cracks (under 1/8 inch wide) are often cosmetic and can be sealed relatively inexpensively—typically $50–$150 as a DIY fix or up to $300 professionally. But even these small cracks let water in, and in a freeze-thaw climate like Indianapolis, that’s a problem.

More serious warning signs include:

  • Cracks wider than 1/4 inch, which often indicate movement or load-bearing issues
  • Stair-step crack patterns along a foundation wall, which suggest foundation settling
  • Cracks with vertical displacement—where one side of the crack sits higher than the other
  • Rapidly spreading cracks that weren’t there a few months ago

These aren’t DIY territory. They require professional diagnosis and repair.

What Expanding Joints Tell You About Your Concrete

Concrete expansion joints are intentional gaps built into slabs that allow the material to expand and contract with temperature changes. When they work properly, they prevent cracking. When they fail, problems spread quickly.

Signs of joint failure include visible cracking around the joint, gaps in the filler material, or water pooling near the edges. Damaged expansion joints can no longer absorb movement, which transfers stress directly into the slab—causing new cracks to form.

Common Locations Where Problems Start

Some areas of a property are more vulnerable than others:

  • Driveways, where vehicle weight combines with freeze-thaw exposure
  • Sidewalks and walkways, especially near tree roots or water runoff areas
  • Porch and Patio slabs, which are often exposed to standing water
  • Garage floors, where de-icer and vehicle fluids accelerate surface deterioration

The True Cost of Waiting Too Long

Repair Expenses That Compound Over Time

The longer concrete damage goes unaddressed, the more expensive it becomes to fix. Sealing a small crack might cost $150–$300. By the time that crack has widened and the slab has begun to sink, you’re looking at mudjacking or polyurethane foam injection—ranging from $500 to $2,500 per section (Metal America Concrete, 2026). Full slab replacement runs $8–$15 per square foot, with a typical 400 sq. ft. section costing $3,200–$6,000 or more.

Repairing a problem early almost always costs a fraction of what it costs to fix later.

Safety Hazards for Property and People

Cracked and uneven concrete creates genuine physical hazards. Raised slab edges and broken surfaces are leading causes of trip-and-fall accidents, especially for children and older adults. For commercial property owners, the liability implications are significant—OSHA requires businesses to maintain hazard-free walkways, and the Americans with Disabilities Act (ADA) mandates accessible, well-maintained pathways.

A single liability claim can dwarf the cost of the repair itself many times over.

Impact on Property Value and Curb Appeal

Visibly deteriorating concrete sends the wrong message. Prospective buyers, tenants, and visitors form quick impressions, and cracked driveways or crumbling walkways signal deferred maintenance. Damaged concrete doesn’t just look bad—it can tangibly reduce property value and make a property harder to sell or lease.

How to Address Cracks Before They Worsen

Professional Inspection and Assessment

The first step is knowing what you’re dealing with. A professional inspection identifies the type and severity of the damage, pinpoints the root cause, and recommends the most cost-effective repair method. Inspection fees typically run $100–$300—a worthwhile investment before committing to any repair approach.

Sealing and Filling Techniques

Different cracks require different treatments:

  • Hairline cracks: Surface-applied polyurethane or silicone caulk, $150–$300 professionally applied
  • Wider structural cracks: Epoxy injection, which bonds the concrete faces together and restores structural continuity—$250–$500 per crack, with a lifespan of 10–15 years
  • Settled slabs: Mudjacking ($500–$1,500) or polyurethane foam injection ($800–$2,500) to lift and re-level without full replacement

Joint Maintenance Best Practices

Expansion joints should be inspected at least twice per year—ideally in spring after winter freeze-thaw stress and again in fall before the next cold season. Maintenance includes:

  • Removing debris that has accumulated in the joint
  • Inspecting the sealant for cracking or peeling
  • Resealing when the existing material shows wear
  • Applying a quality concrete sealer to the surrounding surface every few years to limit moisture penetration

When to Call a Concrete Crack Filling and Joint Control Professional

Signs You Need Expert Help

Some situations go beyond what DIY products can resolve:

  • A crack you’ve already filled keeps returning
  • The slab is visibly sinking or tilting
  • Concrete is spalling, flaking, or crumbling
  • Water is pooling on or near the slab after rain
  • You see cracks wider than 1/4 inch or stair-step patterns near a foundation

These are signs of an underlying structural or drainage problem that surface-level patching won’t fix.

What Professionals Can Do That DIY Cannot

Licensed concrete leveling contractors bring diagnostic tools and specialized equipment—pressure injection systems, foam lifting rigs, and core sampling—that aren’t available to homeowners. More importantly, they address root causes. A DIY patch applied over a settling slab will fail. A professional crack filling and joint control repair that stabilizes the sub-base will last.

Quality professional repairs typically last 5–15 years, depending on method and conditions (Metal America Concrete, 2026).

Timeline for Addressing Concrete Issues

Concrete damage doesn’t resolve on its own—it progresses. Once you notice a crack wider than a hairline, the timeline to act is short. In Indianapolis, it’s especially important to address issues before winter sets in. Every freeze-thaw cycle between now and the repair date will make the job bigger and more expensive.

Frequently Asked Questions

How often should concrete be inspected?

Twice a year is the general recommendation—once in spring and once in fall. Properties with heavy traffic, older slabs, or known drainage issues may benefit from more frequent checks.

Can small cracks be fixed yourself?

Hairline cracks under 1/8 inch wide can often be addressed with a DIY crack filler kit ($5–$15). For anything wider, uneven, or recurring, professional assessment is the safer and more cost-effective long-term choice.

What’s the difference between a crack and an expansion joint?

Expansion joints are intentional, planned gaps in a slab that allow for movement. Cracks are unintentional breaks that typically indicate stress, water damage, or shifting beneath the slab.

How long does concrete repair take?

Simple crack sealing can be completed in a few hours. Mudjacking or foam jacking typically takes one to two hours per section and cures quickly—foam jacking in particular is ready for use within minutes. Full section replacement takes longer, including curing time of 24–48 hours before use.

Take Action Before a Small Crack Becomes a Big Problem

Concrete damage is predictable, progressive, and preventable—if you act early. A crack that costs a few hundred dollars to seal today can turn into a full slab replacement costing thousands if it’s left through another Indiana winter. That’s not a hypothetical; it’s a pattern that plays out across properties in Indianapolis every year.

If you’ve noticed cracks, uneven surfaces, or deteriorating joints on your property, don’t wait. Contact EcoLift Concrete Leveling LLC in Indianapolis, Indiana for a professional concrete assessment. Our team can evaluate the damage, identify the root cause, and recommend the most efficient path to a safer, longer-lasting surface—before the next freeze-thaw cycle makes things worse.

Call Now

Related Posts:

When to Consider Concrete Crack Filling and Joint Control
Stop the Spread: A Guide to Concrete Crack Filling and Joint Control
Fixing Pool Deck Cracks: The Role of Concrete Lifting in Poolside Safety